Written by Merche Martínez
Índice
I present a small manual on how to use the MailChimp tool for sending e-mail marketing. MailChimp is a very complete tool that provides valuable e-mailing information in its free version.
To start working with MailChimp we have to register. If we already have an account we log in.
What is the objective of our e-mail marketing campaign?
This is the first question we should ask ourselves before starting to work. If our objective is to build customer loyalty, we should create a newsletter; if our intention is to guide the recipient to conversion, we will create an advertising e-mail.
Who do we send e-mail marketing to?
Once the objective is clear, it is time to create the list of recipients. In the menu on the left side of the main panel we see the link to the list section.
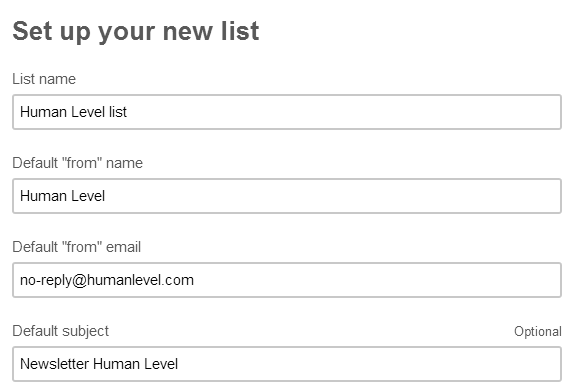
First we configure the list data, name, sender, sender’s e-mail address and a default subject to be displayed in case the subject is not assigned when configuring the campaign.
Our lists are saved in MailChimp for future mailings, although one of the advantages of this tool is the management of subscribers. When creating our lists we can select several options:
- Daily summary: we receive a daily report of new subscribers and unsubscribers.
- Subscriptions report: we receive a report each time a new subscription is made.
- Unsubscribe report: we receive a report each time a subscriber unsubscribes.
Once the list has been created, we insert the recipients by importing the list. We can do it from a text file, an Excel file, a CSV document or many other possibilities offered by the tool.
Create a campaign with MailChimp
MailChimp offers four types of campaigns:
- Regular campaign: this option is the most used, it allows us to send an e-mail that we have previously generated in HTML.
- Plain text campaign: if we select this option we will send an e-mail with plain text without images or design. This type of e-mails are the least recommended because they are not very attractive. It does not contain elements that attract the user’s interest at a glance.
- A/B campaign: allows us to send two versions of the e-mail to a limited number of recipients. The objective is to send the version that has been the best received in the first shipment to the remaining recipients.
For example, one version has an image on the left and another version has the same image on the right, we send one version to 15% of the recipients and the other version to a different 15%. We would analyze the reception data and send the version with the best results to the remaining 70%.
This type of campaign is highly recommended for conversion-oriented e-mail marketing. - RSS Campaign: allows us to send an e-mail with the content of an RSS channel.
For this manual we will work with a regular campaign.
Steps to create a campaign
Step 1: Choose the list of recipients.
Step 2: configure the campaign, to do this we choose a name, we can modify the sender name, the e-mail and the subject.
We can also create a campaign to track in Google Analytics, this option is highly recommended.
MailChimp also offers the possibility of resending the campaign on Facebook and Twitter.
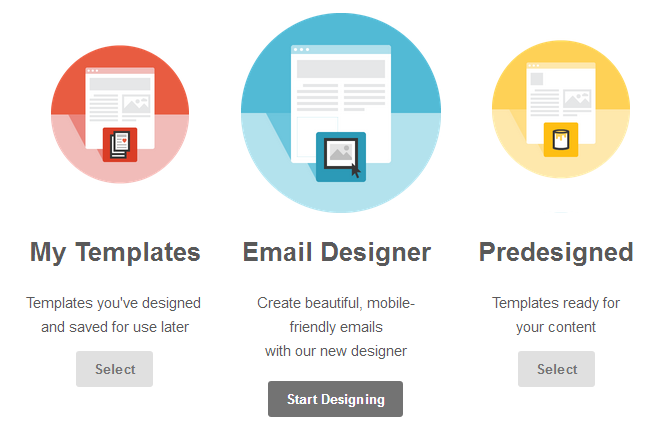
Step 3: design, there are several options to design the e-mail.
- My templates: A previously designed template is used.
- Designer: MailChimp offers us the possibility to design our template with the help of a designer who will guide us.
- Pre-designed: There are pre-designed templates that we can use.
We also have the possibility to insert HTML code directly.
Step 4: plain-text, this step is a legacy of the old mail managers that did not recognize HTML code. Although it can also happen that some of our recipients have marked the option to receive the mail with plain text, but if there are limited cases.
Anyway MailChimp offers this option and with the possibility to generate the plain text from our HTML with a single click.
Step 5: confirm the campaign, if we have done all the steps correctly, we can send the campaign.
Campaign results
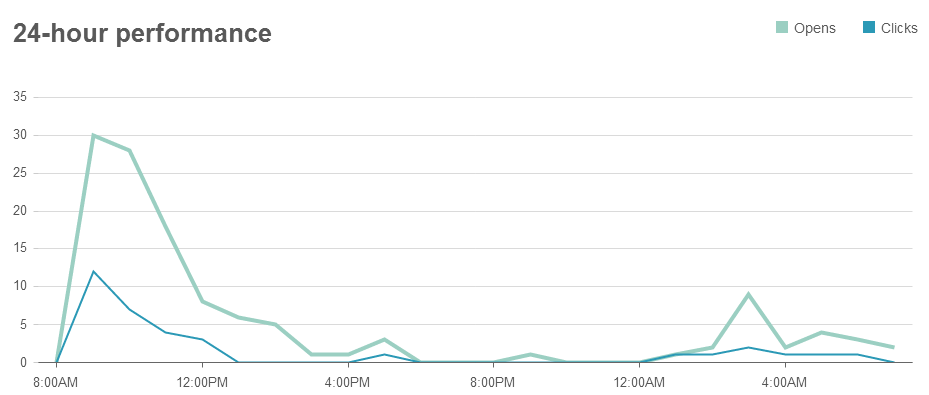
MailChimp offers us the possibility to see the statistics of the sending. With the free version we can know the recipients who have opened the e-mail and those who have clicked on each of the links.
It also highlights the recipients who have opened our e-mails the most. This functionality is very useful for us to be able to categorize the recipients. We know those who are most receptive to receive our newsletter and we can for example make a list of Premium recipients.
Finally, we can see the geographic location of the recipients who have opened the e-mail.
I hope this little guide will help you and encourage you to try MailChimp and tell us about your experience.


